5 Steps to Refresh Your Kitchen
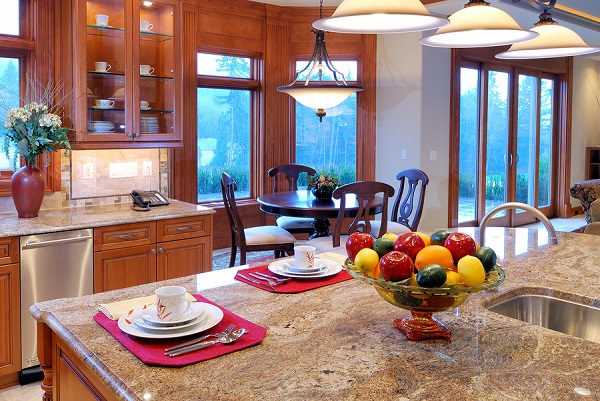 Are you thinking about weekend projects you could do to boost your home’s appeal to buyers? Any REALTOR will tell you to start with the most important rooms of the house first—and the kitchen tops that list.
If budget is a concern, keep it simple. If your cabinets are dingy, but fully-functional—and replacing them is not in the budget—you can work wonders by simply refinishing or painting them and adding new, updated hardware.
‘Think that sounds like a lot? Many homeowners have tackled this weekend warrior project and successfully updated the look of their kitchen. You can too!
Here’s how:
Before you begin, cover all flooring and your countertops to protect them from drips and splatters.
- Empty your cabinets and then remove all the doors and hardware. Label everything as you are removing it. That way, you will know exactly where it belongs and which way to hang it back up. It is best to use a marker to number the top of each door. Then create a map of your kitchen on a piece of paper, labeling numbers to the appropriate cabinet location. The holes from your old hardware may not align with the new ones so you may need to use spackling paste for the old holes.
- It is time to sand all the surfaces of the cabinet doors and the framework of the cabinets. Wipe down everything with a rag to remove all the dust. Failure to do so could ruin the smooth finish of the primer and paint.
- Carefully apply primer to the front of each door and watch for drips—you want a smooth finish. Once the front dries, prime the back. Wait until all sides are totally dry, then lightly re-sand any tiny bumps off of the doors to further smooth out your painting surface. Repeat this step on the framework of the cabinets too.
- Start painting from the inside of each door and let it dry completely. Then paint the front side of the door in the same manner. It is vital to let each side of your application dry completely before you move to the next step. This is not a project that you can rush and still have successful, smooth results. When your first coat of paint is completely dry—not the slightest bit tacky—apply the second coat of paint. Repeat the process all the cabinet framework too.
- Install new hardware and re-hang your doors. If your original hardware was attractive enough to reuse, clean it before reinstalling it. Be sure to follow your numbering system and map to ease the process of putting your cabinets back together.
Ask your REALTOR'S advice about what repairs or easy updates your home might need before you begin to show it. If you tackle the cabinets, take your time. Ask your local home improvement store for advice on paint, primer and tools, and choose the right color (white is a safe bet). In five steps, you can change the look of older kitchen and make your kitchen look updated and fresh to potential buyers.
Share This Post
| Previous Post | Next Post |